File handling
On the Files page the user can interact with their files. Files are available through storage buckets, which are containers to store data in a cloud-based environment. Access to different storage buckets is determined by the user’s membership status in specific user groups and projects. Each storage bucket is associated with shared storage and personal storage, with the administration of these components, including the user’s membership in user groups and projects, being handled by the administrator.
The user’s memberships also determine the level of access they have to the files in the bucket. Different storage buckets may only have read access (the user can access files) while some have both read and write access (the user can both access existing files and upload new ones).
On the page there are three sections:
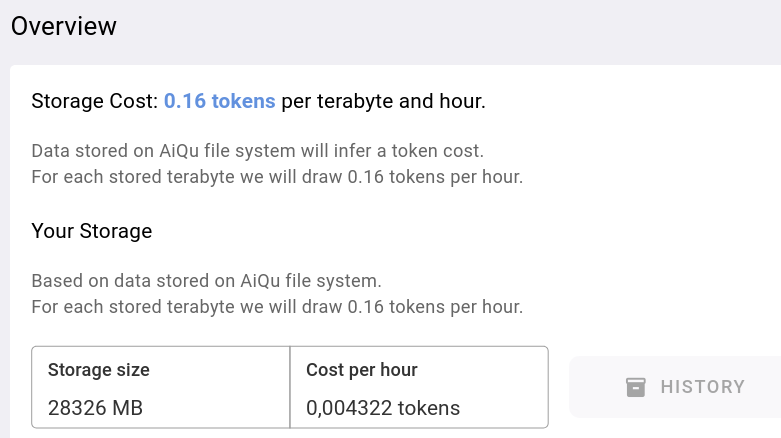
Overview: Metrics about how much data the user has stored and what it costs.

Current Transfers: A table of all current uploads and downloads. This data is not saved between sessions.

File Uploader: A simple graphical tool for exploring, uploading and downloading files from a storage bucket. The user can explore the file tree of a storage bucket of their choice. If the user has write access they are also able to upload, download and delete files from here.

How to access, upload and delete files
Start by selecting the location of your storage from the drop-down menu at the top of the File Uploader. Choose the category, for example “Projects” to work with shared storage buckets, or “Users” to work with your personal storage. The options available here will depend on which groups you are a member of. Selecting an option will display all available storage buckets within the selected category and will allow you to browse through the folder tree.

From this view, you can:
add a new folder to the selected bucket,
delete everything in storage bucket if you have the right access level,
see the bucket details such as the name, ID, and the access rights that determine which actions you can take with the files in this bucket.
Directly underneath, if you have the “Write” access right, you can upload files. In the folder tree to the left, navigate to the desired location where you want to upload the files. Then you can either simply drag and drop the files or folders from your computer, or click on the Browse button to select the files manually.

After selecting the files, click on the Upload button and see the progress in the bar above, showing Current Transfers. After the transfer finishes, you will be able to see the uploaded files at the location you specified.